Showing posts with label Kids Clothes. Show all posts

Sunday, May 1, 2011

The start of the madness . . .

Well I know with a birthday party in about 3-4 weeks there will be lots of posts. I cannot promise them all at once or all before the party, but maybe I can start sharing little bits on the way and then pull them together after! 


This is what we have been working on and I have no tutorials . . . I kind of did the slap together and wonder afterwards what you did method. Which means I will have to do another for tutorials! Hopefully it will work a second time!!


{I don't know how this came out like this, I started cutting tulle and sewing strips of tulle and ribbon and super glued -yes SUPER GLUE- it all together on a aligator clip!}

{A note: I have recently started using stabilizer on these shirts, HIGHLY recommend it!!}


This is the {99.9%} no sewing tu-tu! So super easy!! After the party extravaganza I will do a tutorial!


{Photo Disclaimer: Ignore my mess, my daughters rat nest hair, and the fact that the tu-tu is on a lampshade!}


Thanks for stopping by . . .


Etsy Item . . .

Yeah, yeah I know it has been over a month since I made any posts! So sorry, been busy with well just life in general!! But last night while working on some stuff for the upcoming Birthday Party for a very special little {soon-to-be} 4 year I found an extra t-shirt in a size that probably won't fit my daughter in at least a year or two! I also recently received a box of scraps from a cousin! So extra t-shirt + fabric scraps + iron letters = a shirt I have no one to give it to! So to Etsy it goes!!


Wednesday, March 16, 2011

It's just Tu-tu cute!!

This was not made by either one of us but by my sister-in-law who is currently on bedrest and finding more and more ways to be crafty!!


This was made with NO sewing!!
Too cute, or shall I saw tu-tu cute?!

We will definitely be making some of these so look out for a tutorial to follow . . .


Thanks for stopping by  . . .

Little Boys Wacky Tie T-Shirt

I (for craft reasons unknown) had a package of Hanes t-shirts in a boys medium and considering I have only a daughter and only neices I have no one to pawn these off on! So I decided to make something with them, but since my 'Crafts on a Whim' usually come at a price I have ruined two and made two into something and too exhausted to try something with the fifth!

Problem Number 1: I only make clothes for little girls, what in the world do little boys like on their t-shirts?

Problem Number 2: After I decided to use my scraps to make some little boys Tie shirts, I had a long fight with my sewing machin, yelling at her and blaming her for the crazy messed up stitch until I realized I threaded it wrong and did something with my bobbin that I am still unsure what I did!

So after all that was settled I made this shirts . . .


Thanks for stopping by . . .

Monday, February 28, 2011

Baby Shirts . . .

Also for the baby I decided any niece of mine needs a personalized shirt! At first I thought I may never be able to fit a name on a tiny baby onesie but I was wrong! First of all I decided to brave making the the shirt with the help of the Cricut! Oh how this made it so much easier!!

So I got my onesie, my fabric and wonder under. I ironed a 12x12 inch square of fabric to the wonder under (also 12x12inch) and then I put the wonder undered fabric to my Cricut mat and had the machine do the cutting of my letters! Yay; this saved me oh at least 15 minutes!! I then ironed the letters on and because I don't like it unfinished I hand stitched around the letters with embroidery thread! I also tried to use some tear-away stabilizer, which yes it helped with keeping the shirt from bunching but I swear I used it wrong so I am not even going to dive into telling you how that worked! But I do recommend it if you can figure it out! 

My next shirt was simpler but I got a little braver with it! I mentioned in the previous post about my scary 'Sewing of the Finger' incident so that is why I consider this brave! This project and the quilt were my first sewing adventures in at least 12 years and the only thing I was sewing then was scrunchies (Complicated right? Ha) so attempting this was scary!


So I did the same as the shirt above, ironed the fabric on to the wonder under and then sent through the Cricut, hello why cut a heart when a machine can cut a PERFECT one for you! But since this was a bigger appliqué and not little letters I wanted to try to "embroider" the heart! So I practiced on a scrap piece of fabric and then I went at it! Now I have a basic Brother machine, nothing fancy, all I did was change to the biggest zig-zag stitch and then change the width between the stitch to the smallest. Well almost my machine has a 0 (zero) and then an F setting for the width, being a not so experienced sewer I have no clue what the F stands for but that worked better than the 0. So then I just followed that around the heart and ta-da I embroidered my appliqué!

I suggest practicing on some scrap first, and on a BIG appliqué especially if you are as un-experienced as me!!

Happy Crafting everyone!!

Saturday, January 1, 2011

Make your own holiday shirts . . .

Every year I tend to search the local Old Navy's in shirt for the $5 shirts they "usually" have towards the registers looking for cute shirts for my daughter for whatever holiday is close . . . well recently they have not been so regular with their shirts and I cannot always find them! So when ( I will just say cousin because I honestly do not know the technical term for this family member) a cousin sent a shirt for my daughter for Halloween she helped me with my Holiday t-shirt dilemma!!

So here is the short how-to:

1) Find or make your own pattern to cut out . . .
2) Get fabric (if you are going to do multiple layers, get multiple fabrics) and wonder-under (LITE-- will explain)
3) Iron your fabric to the wonder under and trace design/pattern on to the back of your fabric (wonder-under)
4) Cut out pattern (Keep in mind if you are doing something with letters they will need to be cut backwards)
5) Iron pattern to shirt (or whatever item you choose)
6) :Optional: Sew edges of pattern for a finished look!

Now I did one for Thanksgiving and I did one for Christmas, the Turkey shirt was definitely a learning experience! Like already mentioned, get the lite wonder-under, the heavier stuff gets REALLY stiff and if you are planning to sew it (especially by hand) it can be rather difficult!! For the turkey I wanted thick threading so I used embroidery floss so I did it all by hand and I seriously think I have arthritis in my right hand as a result! Also keep in mind whether you use lite or heavy if you do multiple layers and they over lap each other this will also result in very stiff fabric that is extremely hard to work with!

Now if you have a steady hand and can cut your pattern perfectly or you have been blessed with a Cricut machine you may want to cut the pattern with that and then you wont need sew anything and you can use the heavy wonder-under to keep it secure. It is all a preference on how YOU want it to look!

Speaking of the Cricut, Shabby Wendy bought me an amazing for Christmas, therefore the previous projects were all HAND done! As fun and unique as this is, My daughters Valentine's day shirt will be done with the Cricut. This way was too much work for a shirt worn for ONE day!!

These pictures are the best I got; one my t-shirt model refuses to sit still so I can take a picture of my artwork and two on the day she is actually wearing it I get caught up and forget to capture pictures of her and the shirt!


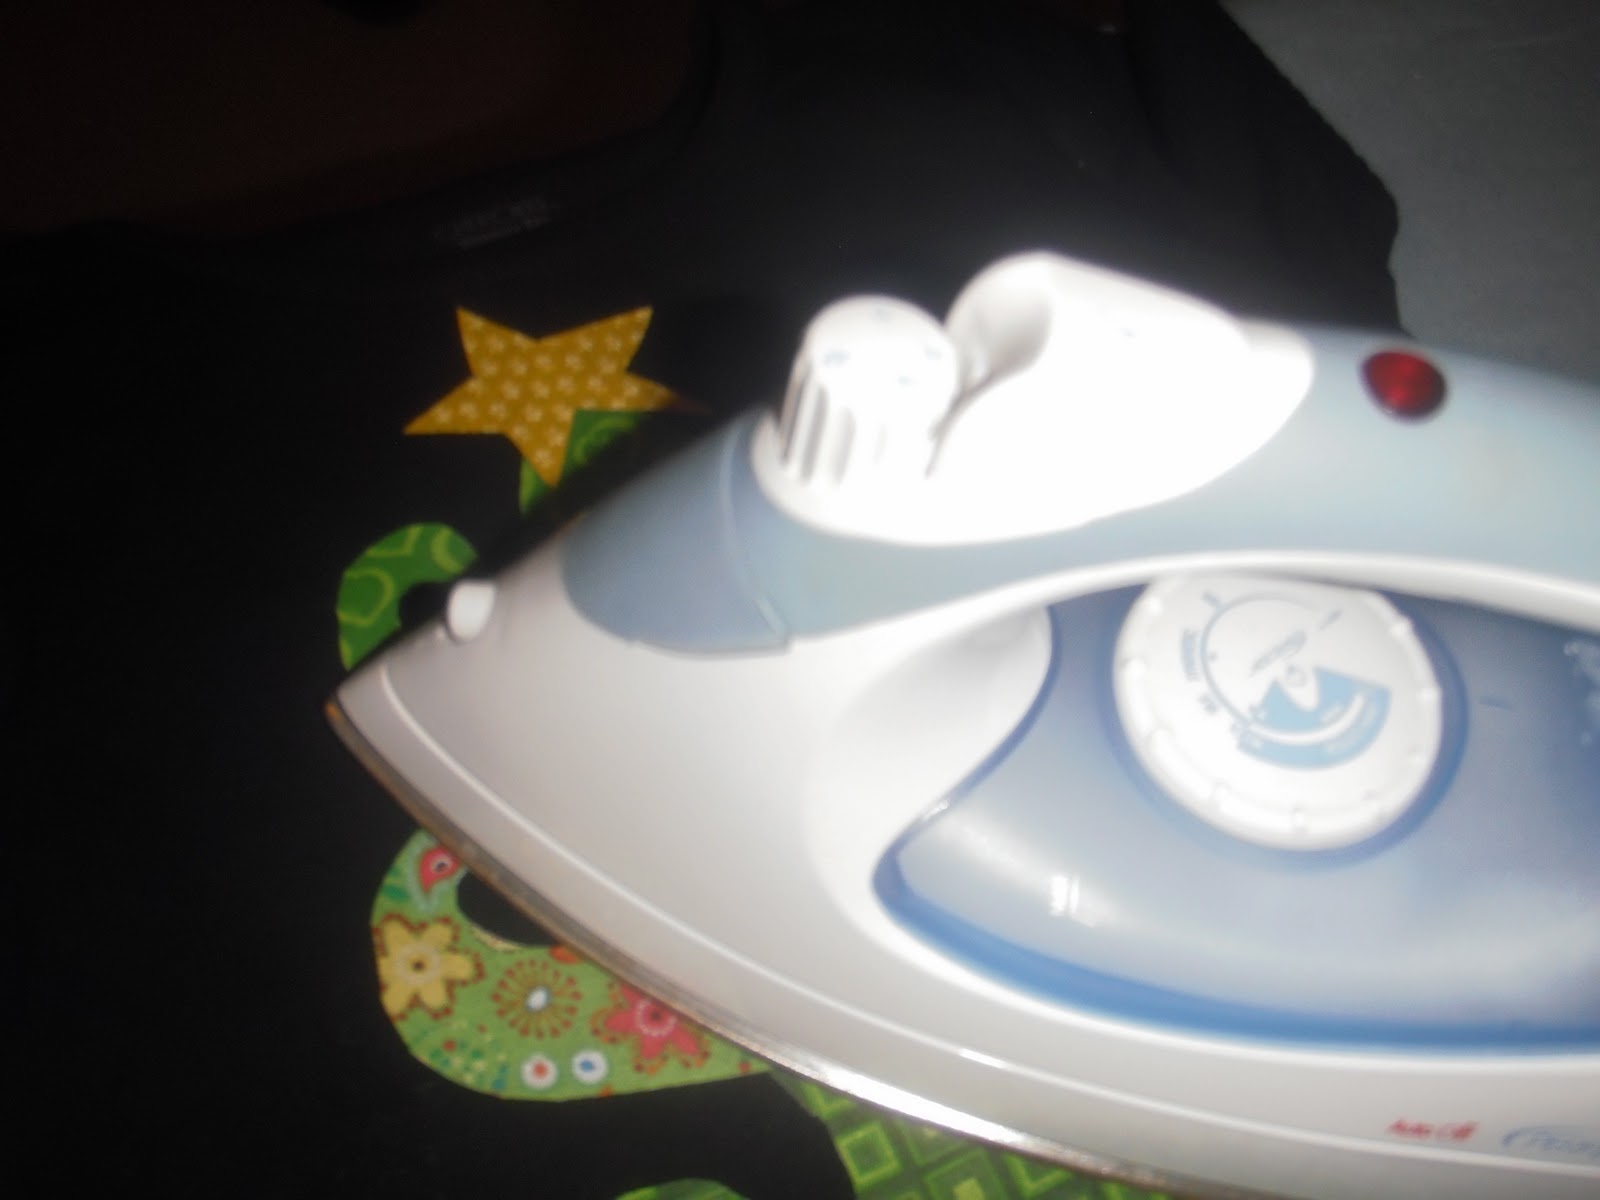
 (My Old iron that hated wonder-under and took me forever to adhere to the shirts . . . cannot wait to show my new pretty PINK iron!!)
Before the threading but you get the idea!!

Best picture of the kiddo wearing the project . . .

Don't worry I have a couple more projects that I worked on for Christmas gifts and Christmas projects using this same idea! Stay tuned . . .