Then one glorious week I got the itch, I called the Hubby and said "GET ME SOME PAINT!" And so it began . . . Here is the finished project! And the dresser was a bargain find that was redone, but don't ask for before pics because they don't exist!! Sometimes I dive into a project and halfway realize I have no before pics!!
Showing posts with label Bargains. Show all posts
Tuesday, May 14, 2013
Little Shabby's Room Re-do
Since we moved in Little Shabby has had a very pale baby-ish green
room. We just threw in her furniture and kept saying "before {insert
party/event here} we will finish up her room!" And of course many events
passed and a couple years went by and still the green walls and
theme-less room existed!!
Then one glorious week I got the itch, I called the Hubby and said "GET ME SOME PAINT!" And so it began . . . Here is the finished project! And the dresser was a bargain find that was redone, but don't ask for before pics because they don't exist!! Sometimes I dive into a project and halfway realize I have no before pics!!
Saturday, August 25, 2012
Table Redo!
$10 table from Goodwill (there is another chair but we took it apart before the picture, oops!)
Covered the seats with fabric, and covered the table top with fabric and plastic . . . Its for a one year old, its NEEDS plastic!!
Wednesday, March 16, 2011
Wedding Favor Boxes . . .
This is just a rough draft, but once they are perfected and I will post pictures and a better tutorial, but here are some of those boring dollar store bride's gown favor boxes with a little more jazz!! It's amazing how some ribbon, paint and glitter can make a dollar store product so snazzy!!
Aren't they pretty?
Thanks for stopping by . . .
Tuesday, October 26, 2010
Mirrors . . .
Okay so I just posted the beautiful frames/mirrors that we turn into chalkboard and corkboard but sometimes, yes sometimes we do leave them as mirrors and just jazz up the frames!!
Before
After
The After hanging up in our actual entry way . . . the Entry Table in that post is down the hall from my actual entry way so I figured the real deal needed something!
Before
After
This one came in a set and we did one mirror as a CHALKBOARD and this one for my daughters room!
Chalkboard frames . . .
Step 1: Find a unique, yet cheap mirror at your local Goodwill/Salvation Army/Thrift Store/Etc. The more ornate the frame the better!
Like this one:
Like this one:
Step 2: Take mirror our of the frame.
Step 3: Turn the mirror over and spray paint the back side with spray chalkboard paint! You can spray the mirror side of it but we do the back side JUST IN CASE one day we decide it should be a mirror again!! Better safe than sorry!!
Step 4: Spray paint the frame, you can do any color you like BUT the white against the chalkboard is so cute we usually end up doing that!!
After
After (Sorry dont have a Before?!)
Before
After!!
This frame we actually got in a set and did something for my daughters bedroom click HERE to see the mirror!
Isn't it amazing how a cheap frame/mirror can turn into something new and adorable??
Other peoples trash that they take to Goodwill become our treasures . . .
Some people take their unwanted "trash" to Goodwill and don't realize they are giving up GOLD!! I wonder if some of these people saw the things we turn their trash into if they would want it back?? Well too bad finders keepers!!!
Some of our favorite "Goodwill" projects are our chalkboard and corkboard frames!! I have done the tutorial on how we did our corkboard frame before so if you see these new ones we did and want to know how just follow the link HERE to see how!!
This one was used with that same shower curtain we did for the white mirror in THIS post!!
This beauty was a $2 frame with picture at Goodwill, it was originally white!
Wish I could show you the before picture but sometimes we get caught up on what our finished project will look like that we forget to bring the camera with us!!
Tuesday, October 5, 2010
Entry Table Cont'd
So we couldn't just do one corkboard!! Remember the entry table? It looked a little lonely so we took another frame . . .
Got some more self adhesive cork board at Target . . .
Some more wonder under and a pretty simple damask stripe fabric . . .
Although this one wasn't as simple as the grey and white corkboard . . . we cut the fabric from the board the first time and not from what would show in the frame so the lines we not centered! And when you DIY with OCD you can not leave it like that!
So attempt two, well it was not successful for other reasons. The board was refusing to fit back into the frame without leaving bubbles in the fabric.
Attempt three was successful . . .
(p.s. Sorry for the poor quality photo, my camera is dead so we had to do with a camera phone pic)
Sunday, September 19, 2010
Bargain Hunting . . .
We do not like to pay full price for anything, and when we get it for next to nothing its even better!
Awhile back we had seen some of these items at Hobby Lobby, loved them, hated the price! There were a couple different pieces and they ranged from $50-$70 and even with our 40-50% coupons it was not cheap enough! So we waited, and waited, and waited some more and finally they were marked down and then got marked down even more.
Here is one of the pieces:
As you can see one of the little knobby things on the bottom had been broken off, BUT it was still with it so with a little glue that was easily fixed!!
This is mid-project:
Glue, paint, and some decoupage! (I am starting to see a pattern with our posts)
Finished:
That basket in the middle isn't the current one Mom (Wendy) has in it but we needed to fill it with something at the time for the picture!!
We actually have a couple more pieces of the same collection that Mom re-did but she has those pictures on her camera so you are just going to have to wait until I get them to see the rest!!
These are all going in our Shabby (Guest) Craft Room at Mom's house, if we ever stop our projects long enough to actually organize that room will put some pictures up. But please don't hold your breath for those!!
Awhile back we had seen some of these items at Hobby Lobby, loved them, hated the price! There were a couple different pieces and they ranged from $50-$70 and even with our 40-50% coupons it was not cheap enough! So we waited, and waited, and waited some more and finally they were marked down and then got marked down even more.
Here is one of the pieces:
As you can see one of the little knobby things on the bottom had been broken off, BUT it was still with it so with a little glue that was easily fixed!!
This is mid-project:
Glue, paint, and some decoupage! (I am starting to see a pattern with our posts)
Finished:
That basket in the middle isn't the current one Mom (Wendy) has in it but we needed to fill it with something at the time for the picture!!
We actually have a couple more pieces of the same collection that Mom re-did but she has those pictures on her camera so you are just going to have to wait until I get them to see the rest!!
These are all going in our Shabby (Guest) Craft Room at Mom's house, if we ever stop our projects long enough to actually organize that room will put some pictures up. But please don't hold your breath for those!!
Monday, September 13, 2010
Entry Table
So when you move from a 2 bedroom apartment to a 4 bedroom house you notice something . . . You lack the furniture to fill that house!! Also you don't have the money to go out and buy brand new furniture, well at least I don't!
So on our weekly adventures to Goodwill and Thrift shops we found this:
A simple blond colored 'sofa table'! I have a need for a sofa table, but I also have a need for an entry table and that outweighed the sofa table!!
(The picture is in my new backyard on top of a emptied box that you can see I have been using for a lot of paint projects!)
Painted it black . . .
This is its home, not completely in my entry way but we dont have space in the entry way. So its kind of a 'down the hall from the entry, entry to the main living area' table! (Oh and in the picture is our future Shabby Chick, she loves to 'help' with the crafts, but even more she loves to be photographed!)
Oh yeah, I painted some black chalkboard paint on the top! I paid $9 for that jar and I am going to get as much out of it as I can!!
But this isn't exactly the end to this project. I still have to add some stuff to the table top and we are working on a corkboard project tomorrow that will be displayed above this table!! Cannot wait to show it to y'all!!!
Friday, August 20, 2010
Our newest project!!
I know the plan was to post some of our old projects that we have done, but since we are in the final week before closing on our house things got a little hectic!! So instead I waited until today when we came across an awesome find and also started a new project!!!
This morning on the way to Wal-mart we saw a sign for a Garage Sale . . . well we had to stop, so glad we did!! We found this french provincial style SOLID WOOD dresser AND a matching mirror AND a matching desk/vanity all for only $40!! I am just going to do todays post on the start of the dresser project. In time we will get to the other pieces, but truth is we are not certain of what we are doing yet!!
This is the mirror that goes with the dresser, but you will have to stay tuned to see where that goes!!
Starting to strip the paint . . .
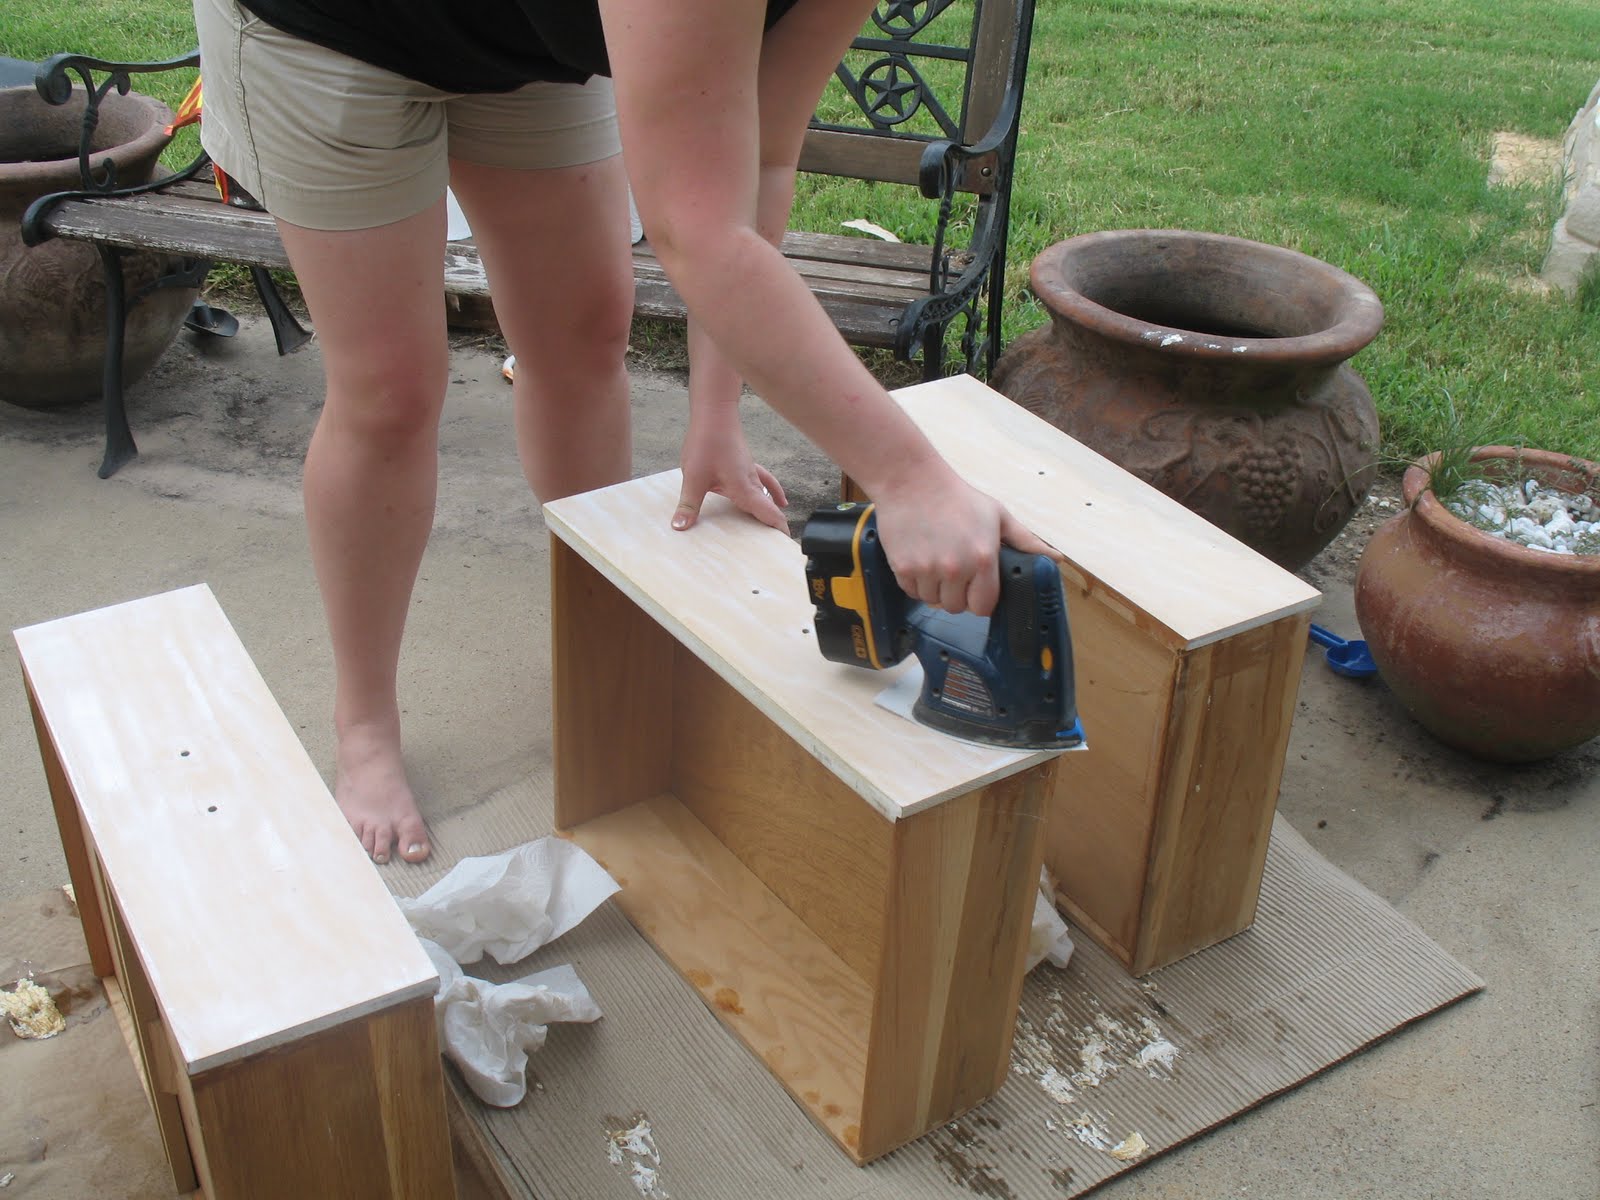
Sanding . . .
After a red mahogany stain this is the midpoint to our project! This is the color of my king sleigh bed in my master bedroom!!
These are the handles . . .
I am not usually a big fan of antique style things . . . but I L-O-V-E these!! Cannot wait to finish the rest of the dresser and put this all together!!!
Until next time . . .
Saturday, August 14, 2010
Polka Dot Ottoman/Bench
I have been looking for some kind of bench to put at the end of my bed! Then after searching the stores and seeing the price tags for what I wanted, we decided we needed to head in a different direction!
Mom, my Craigslist hunter, found this ottoman/bench for $40:

It was in really good condition, but I needed it to match the stuff in my bedroom!
So we went to Wal-mart and found some upholstery and then went to Mom's house to tackle MY first upholstering project . . .
By the way its not the upholstering that is the pain, its the undoing of the original fabric and pulling out every . . . single. . . staple!!
But after pulling out the staples and realizing we didnt have the right size needles to do the buttons and a trip to JoAnn's Fabrics and an achy back after leaning over this ottoman for two days; we finally ended up with this beauty:

I took the pictures before we had finished up the bottom . . . but you get the idea!
Subscribe to:
Posts (Atom)