. . . A bag full of crayons!!
And if I ever get around my home computer and I'm not posting from the cell phone I will give you all the lovely printable for that bag!!
Showing posts with label Christmas. Show all posts
Thursday, December 13, 2012
On the first day of Christmas . . .
. . . I made some really cute gifts for Little Shabby's teacher and sent it off to school with our snapping a picture!! Oh and I did it on the second day as well! So we will start with the 3rd day of Christmas!!
A 2-liter of sticky pop filled with glue sticks because well we all know how Kindergarteners are with glue!!
Tuesday, January 10, 2012
Snowman in a can . . .
For those winter days (obviously not for Texans)
Roll up your snowballs and then here is all your fixings in one spot!!
It's a . . .
On December 23rd a good friend was having a gender reveal party and I made these ornaments since it was close to Christmas!
They were so simple, put the paint in and coat the inside of any glass or plastic ornament (found at Hobby Lobby, craft stores, etc.) Cut out the design on the Cricut glued on some pearls to make it sparkle (and cover up some imperfections!) Tie on coordinating ribbon!! So cute and super simple!!
Saturday, December 17, 2011
Homemade Christmas ornament!
Clear plastic Christmas ornament (yes plastic, I have a 4 yr old!)
Red paint
Circuit and black vinyl
E6000 and some black rhinestones
Ribbon!
Made it for an ornament exchange and already been asked to make another!!
Red paint
Circuit and black vinyl
E6000 and some black rhinestones
Ribbon!
Made it for an ornament exchange and already been asked to make another!!
Preschool Christmas Party!
Reindeer pops for the kids, handmade lotion for the teachers and melted snowmen cookies for dessert!!
We also did the craft, but that will be another post!
Thursday, December 1, 2011
Meet . . . Prunella!
This is Prunella, our Elf! This is her first visit to our house and honestly I think Mommy and Meemee are more excited about playing with her than my daughter is . . . Oh the fun we will have!!
{Oh and Shabby Wendy -Meemee- has her own Elf -Zella- that will be making appearances as well!}
And for those of you who may wonder why our Elf has a different skirt than all the other girl elves? Well these Shabby Chicks don't play by normal rules . . . We saw this awesome dog collar/scarf/whatever and knew our little lady elves needed an extra special skirt!!
Saturday, January 1, 2011
The stocking were hung . . . with a whole new flare this year!!
So after the Turkey shirt and the Christmas shirt (SEE HERE) I decided we needed to do some projects with fancy letters!
So I took to my computer and found which font I thought was best and printed out my daughters name. Cut those letters out and traced them (BACKWARDS) on the back of some wonder-under(ed?) fabric. Ironed them on to the GIANT stocking from the Dollar Store and ta-da a much cuter (than the standard block letters we have had until now) stocking!!
For those of you who may have read this and keep thinking why is she emphasizing the letters to be backwards, well most of you probably know there may be a few people who never done a project and don't know! I know that if Shabby Wendy wouldn't have made a comment my first go around may have ended in frustration! You have to trace them backwards on the back of the fabric because with wonder-under when you peel the back and place it on the piece you are ironing on to the image will be swapped, unless of course you are tracing on the actual fabric which I wouldn't recommend because well you might end up with little lines where your pen/marker traced. Again do what makes you feel comfortable I just do things the way I know my simple mind can handle and I wont overwhelm myself!!
Still one more project to come . . . and once me and my new Cricut get better acquainted expect a lot more of these projects!!
Make your own holiday shirts . . .
Every year I tend to search the local Old Navy's in shirt for the $5 shirts they "usually" have towards the registers looking for cute shirts for my daughter for whatever holiday is close . . . well recently they have not been so regular with their shirts and I cannot always find them! So when ( I will just say cousin because I honestly do not know the technical term for this family member) a cousin sent a shirt for my daughter for Halloween she helped me with my Holiday t-shirt dilemma!!
So here is the short how-to:
1) Find or make your own pattern to cut out . . .
2) Get fabric (if you are going to do multiple layers, get multiple fabrics) and wonder-under (LITE-- will explain)
3) Iron your fabric to the wonder under and trace design/pattern on to the back of your fabric (wonder-under)
4) Cut out pattern (Keep in mind if you are doing something with letters they will need to be cut backwards)
5) Iron pattern to shirt (or whatever item you choose)
6) :Optional: Sew edges of pattern for a finished look!
Now I did one for Thanksgiving and I did one for Christmas, the Turkey shirt was definitely a learning experience! Like already mentioned, get the lite wonder-under, the heavier stuff gets REALLY stiff and if you are planning to sew it (especially by hand) it can be rather difficult!! For the turkey I wanted thick threading so I used embroidery floss so I did it all by hand and I seriously think I have arthritis in my right hand as a result! Also keep in mind whether you use lite or heavy if you do multiple layers and they over lap each other this will also result in very stiff fabric that is extremely hard to work with!
Now if you have a steady hand and can cut your pattern perfectly or you have been blessed with a Cricut machine you may want to cut the pattern with that and then you wont need sew anything and you can use the heavy wonder-under to keep it secure. It is all a preference on how YOU want it to look!
Speaking of the Cricut, Shabby Wendy bought me an amazing for Christmas, therefore the previous projects were all HAND done! As fun and unique as this is, My daughters Valentine's day shirt will be done with the Cricut. This way was too much work for a shirt worn for ONE day!!
These pictures are the best I got; one my t-shirt model refuses to sit still so I can take a picture of my artwork and two on the day she is actually wearing it I get caught up and forget to capture pictures of her and the shirt!
So here is the short how-to:
1) Find or make your own pattern to cut out . . .
2) Get fabric (if you are going to do multiple layers, get multiple fabrics) and wonder-under (LITE-- will explain)
3) Iron your fabric to the wonder under and trace design/pattern on to the back of your fabric (wonder-under)
4) Cut out pattern (Keep in mind if you are doing something with letters they will need to be cut backwards)
5) Iron pattern to shirt (or whatever item you choose)
6) :Optional: Sew edges of pattern for a finished look!
Now I did one for Thanksgiving and I did one for Christmas, the Turkey shirt was definitely a learning experience! Like already mentioned, get the lite wonder-under, the heavier stuff gets REALLY stiff and if you are planning to sew it (especially by hand) it can be rather difficult!! For the turkey I wanted thick threading so I used embroidery floss so I did it all by hand and I seriously think I have arthritis in my right hand as a result! Also keep in mind whether you use lite or heavy if you do multiple layers and they over lap each other this will also result in very stiff fabric that is extremely hard to work with!
Now if you have a steady hand and can cut your pattern perfectly or you have been blessed with a Cricut machine you may want to cut the pattern with that and then you wont need sew anything and you can use the heavy wonder-under to keep it secure. It is all a preference on how YOU want it to look!
Speaking of the Cricut, Shabby Wendy bought me an amazing for Christmas, therefore the previous projects were all HAND done! As fun and unique as this is, My daughters Valentine's day shirt will be done with the Cricut. This way was too much work for a shirt worn for ONE day!!
These pictures are the best I got; one my t-shirt model refuses to sit still so I can take a picture of my artwork and two on the day she is actually wearing it I get caught up and forget to capture pictures of her and the shirt!
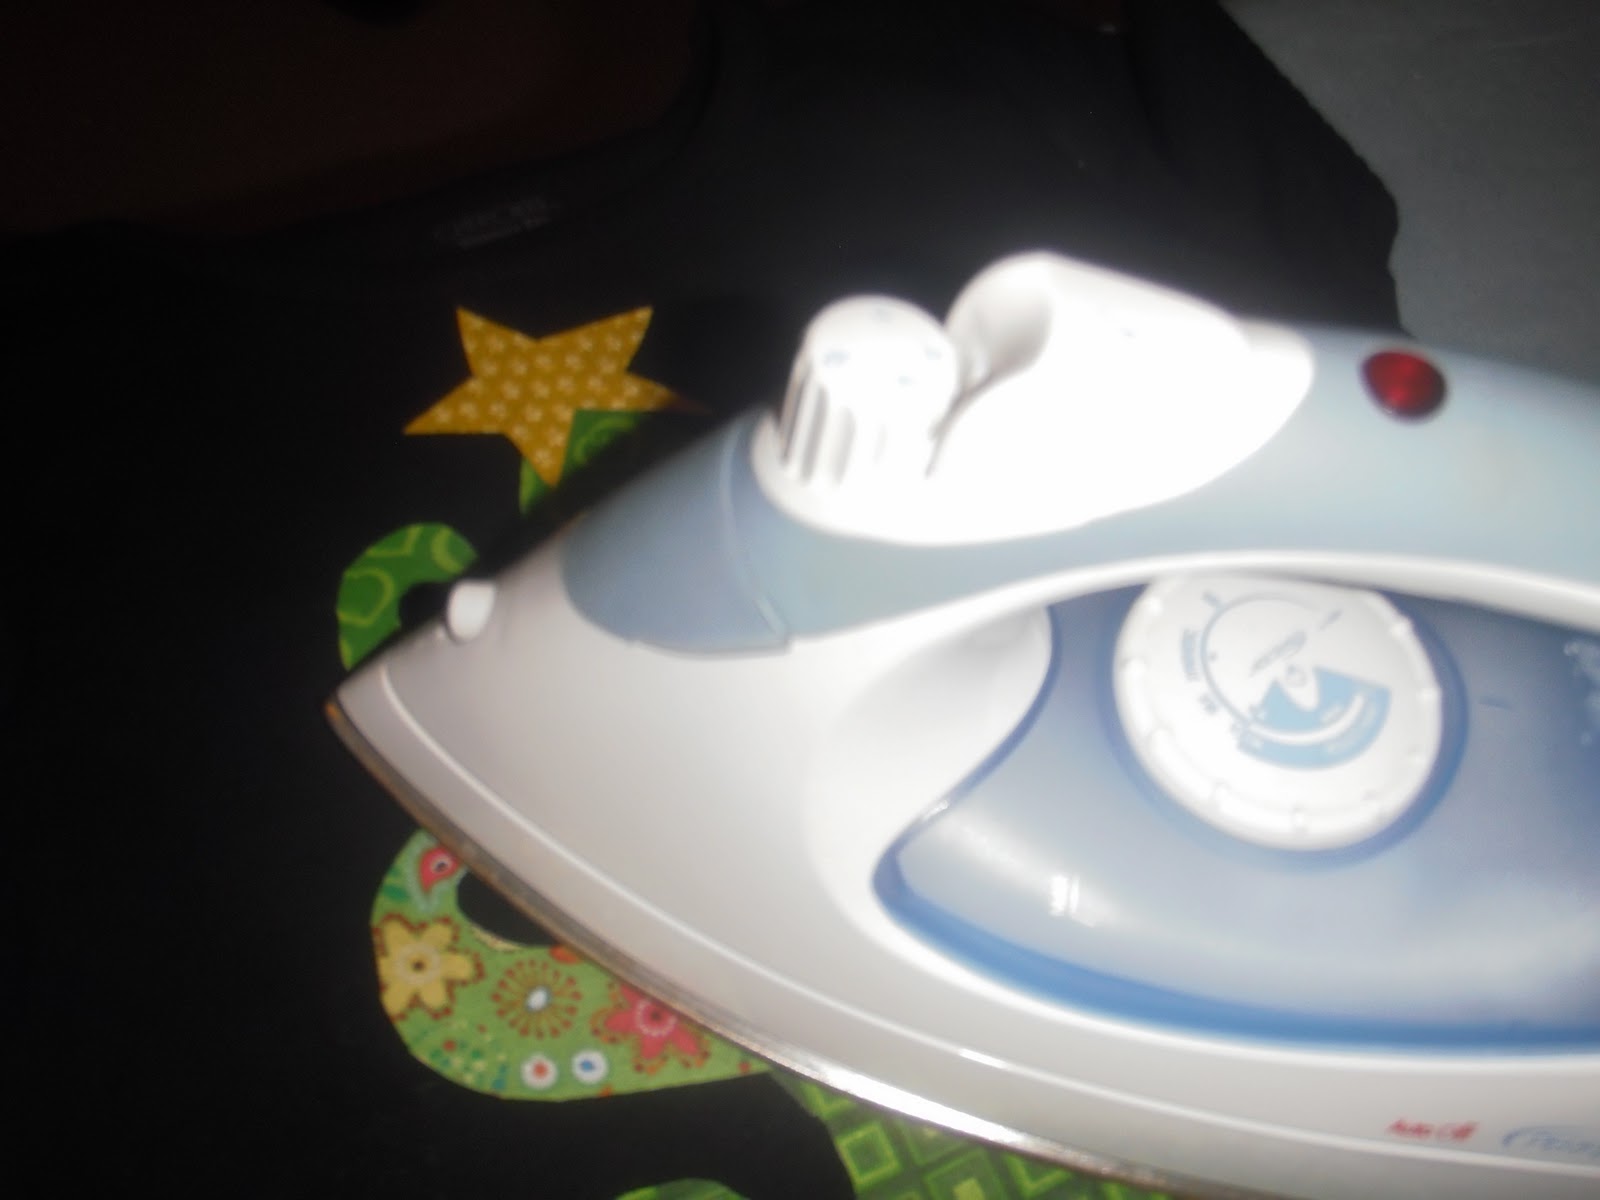
(My Old iron that hated wonder-under and took me forever to adhere to the shirts . . . cannot wait to show my new pretty PINK iron!!)
Before the threading but you get the idea!!
Best picture of the kiddo wearing the project . . .
Don't worry I have a couple more projects that I worked on for Christmas gifts and Christmas projects using this same idea! Stay tuned . . .
Tuesday, November 9, 2010
Christmas comes earlier every year . . .
Although I am anti-Christmas decorating no earlier than Black Friday I figure it wouldn't hurt to go ahead and start planning for it!
So after Shabby Wendy printed more Thanksgiving art than she has frames we both decided to start looking for a Christmas Subway art printable . . . we couldn't find any that were printable! So I looked at some other Subway art and thought; oh we could do one!! So after brainstorming Christmas words (instead of doing the smart thing and googling it) we made our very own Christmas Subway Art!!
Hope you enjoy!!
This is just a preview, if you click below you can go to Scribd so you can download the PDF!
p.s. Now that we have discovered we can make this, expect some more Subway Art!!
Subscribe to:
Posts (Atom)