
So here is the short how-to:
1) Find or make your own pattern to cut out . . .
2) Get fabric (if you are going to do multiple layers, get multiple fabrics) and wonder-under (LITE-- will explain)
3) Iron your fabric to the wonder under and trace design/pattern on to the back of your fabric (wonder-under)
4) Cut out pattern (Keep in mind if you are doing something with letters they will need to be cut backwards)
5) Iron pattern to shirt (or whatever item you choose)
6) :Optional: Sew edges of pattern for a finished look!
Now I did one for Thanksgiving and I did one for Christmas, the Turkey shirt was definitely a learning experience! Like already mentioned, get the lite wonder-under, the heavier stuff gets REALLY stiff and if you are planning to sew it (especially by hand) it can be rather difficult!! For the turkey I wanted thick threading so I used embroidery floss so I did it all by hand and I seriously think I have arthritis in my right hand as a result! Also keep in mind whether you use lite or heavy if you do multiple layers and they over lap each other this will also result in very stiff fabric that is extremely hard to work with!
Now if you have a steady hand and can cut your pattern perfectly or you have been blessed with a Cricut machine you may want to cut the pattern with that and then you wont need sew anything and you can use the heavy wonder-under to keep it secure. It is all a preference on how YOU want it to look!
Speaking of the Cricut, Shabby Wendy bought me an amazing for Christmas, therefore the previous projects were all HAND done! As fun and unique as this is, My daughters Valentine's day shirt will be done with the Cricut. This way was too much work for a shirt worn for ONE day!!
These pictures are the best I got; one my t-shirt model refuses to sit still so I can take a picture of my artwork and two on the day she is actually wearing it I get caught up and forget to capture pictures of her and the shirt!

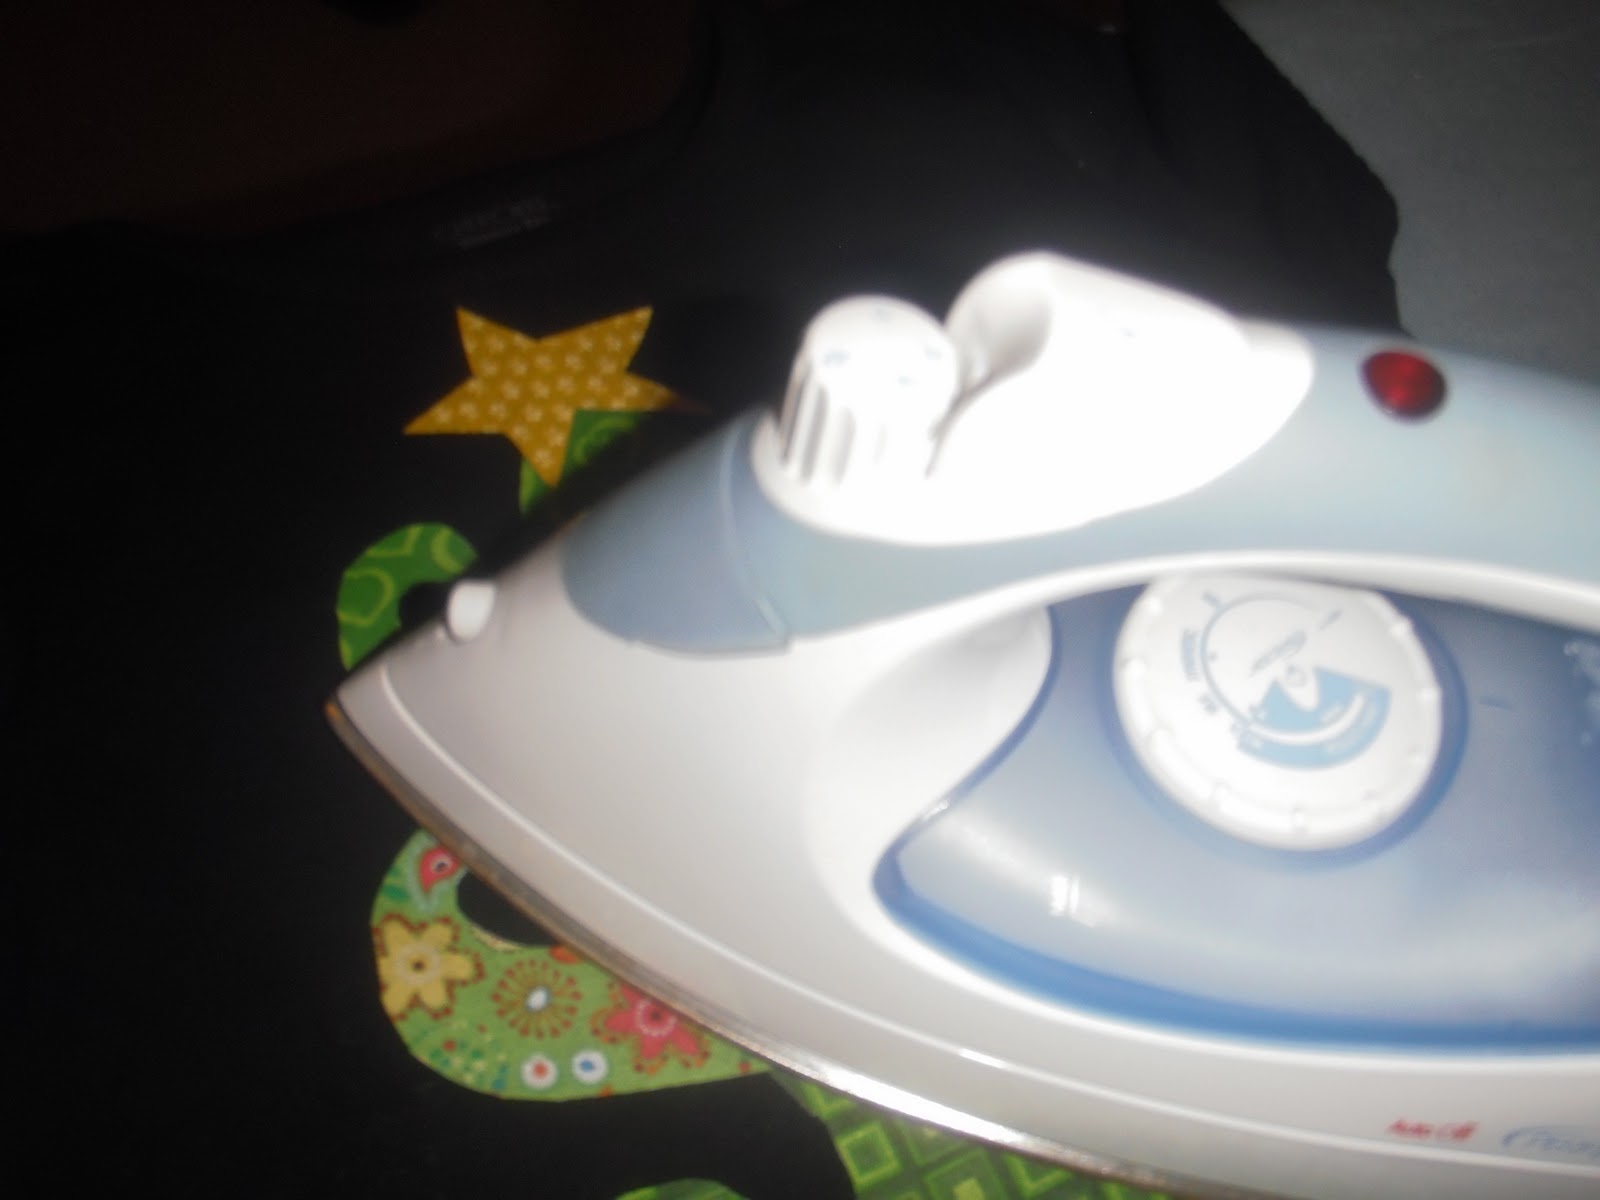
(My Old iron that hated wonder-under and took me forever to adhere to the shirts . . . cannot wait to show my new pretty PINK iron!!)

Before the threading but you get the idea!!

Best picture of the kiddo wearing the project . . .
Don't worry I have a couple more projects that I worked on for Christmas gifts and Christmas projects using this same idea! Stay tuned . . .
I made shirts like this with mermaids for my great-nieces. I just ironed heat-n-bond on the back of fabric, cut out mermaids and then ironed them on the shirts. Outlined with embroidery floss using a running stitch. So easy and turned out so cute. Got the idea from Sophie's turkey shirt.
ReplyDeleteThat's what we did!! It so easy and it turns out so cute and its UNIQUE!! I got a Cricut for Christmas so I see a lot more of these shirts in the future since I won't have to do the cutting :)
ReplyDelete